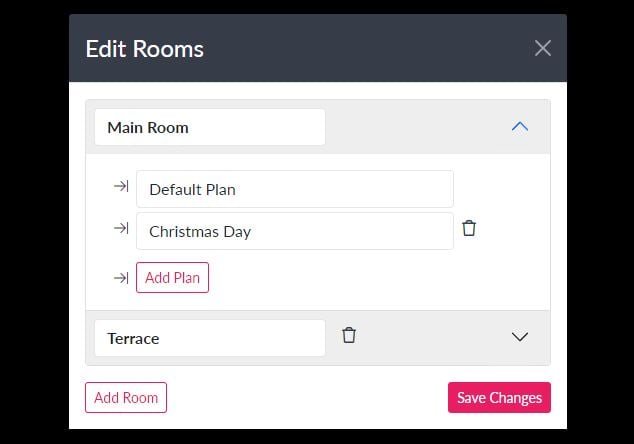
Configuring your floor plan is incredibly straightforward. Start by accessing the room editing feature. This can be found on the far right of Floorplan editor...
Now comes the exciting part – creating multiple plans!
With this feature, you can design different layouts for various occasions or purposes such as Christmas Day, Birthdays or Weddings.
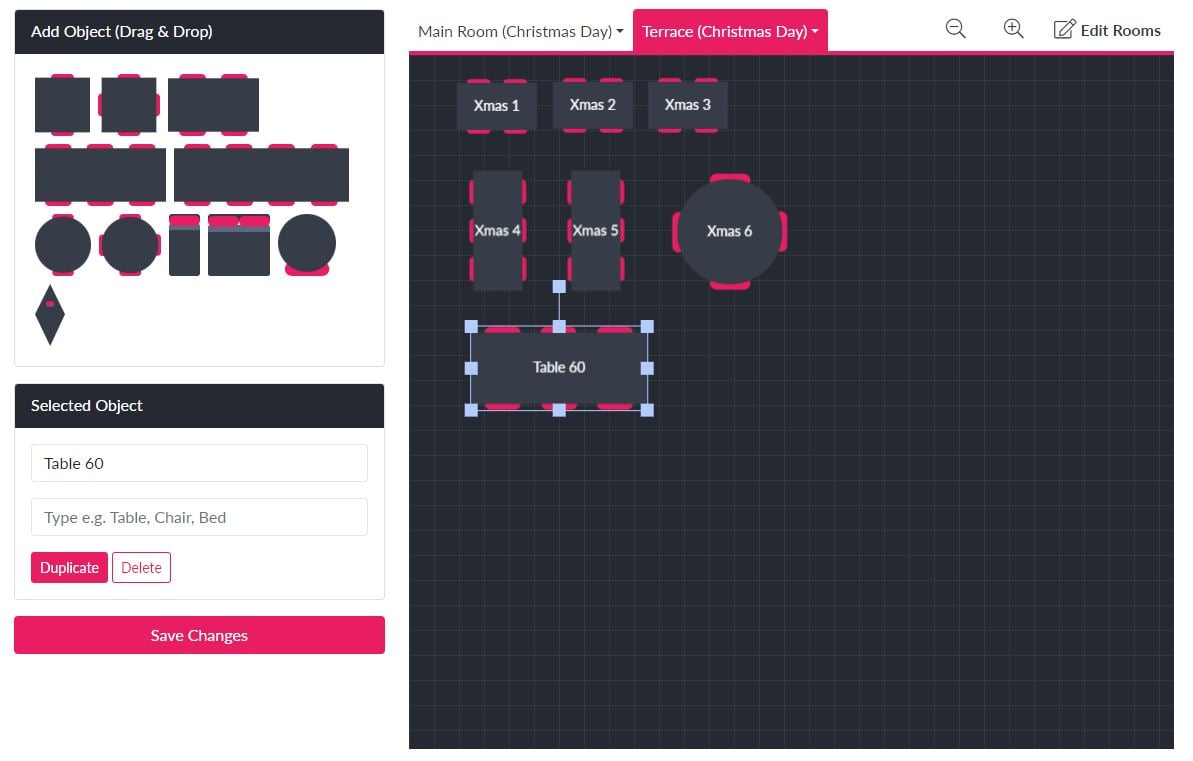
Select the table object from the library and place it onto your floor plan. Give it a unique name like "Table 1" to easily identify it later. This step allows you to specify the purpose or location of the table.
To make the process more efficient, take advantage of the duplication feature. This enables you to create multiple copies of the same table without the need for manual reconfiguration.
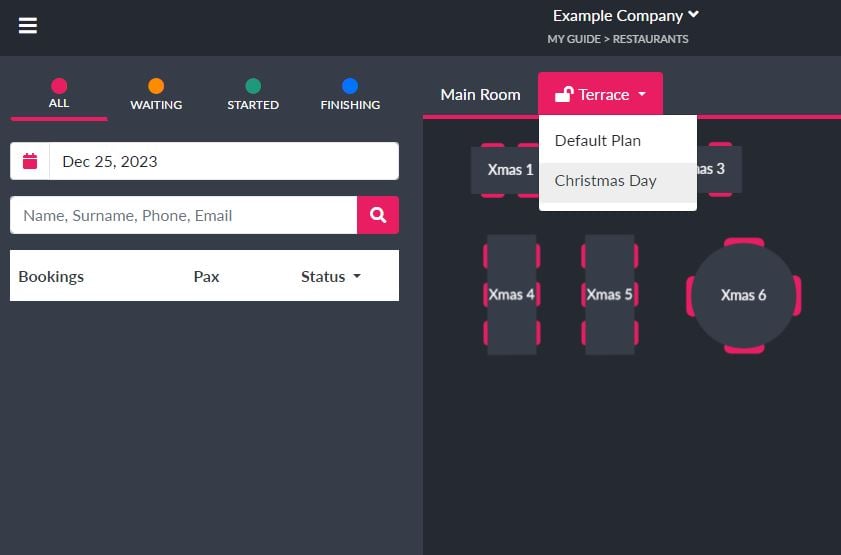
The "Default Plan" is typically applied to every date on your floor plan. However, if you wish to assign a specific plan for a particular date, you can do this easily.
After selecting the date, you can choose the room, click the lock icon and you'll have the option to select the plan you want to use for that particular date.
Whether it's a unique design for Christmas Day or any other occasion, this approach enables you to have tailored plans for different days while maintaining the convenience of a default plan for other dates.
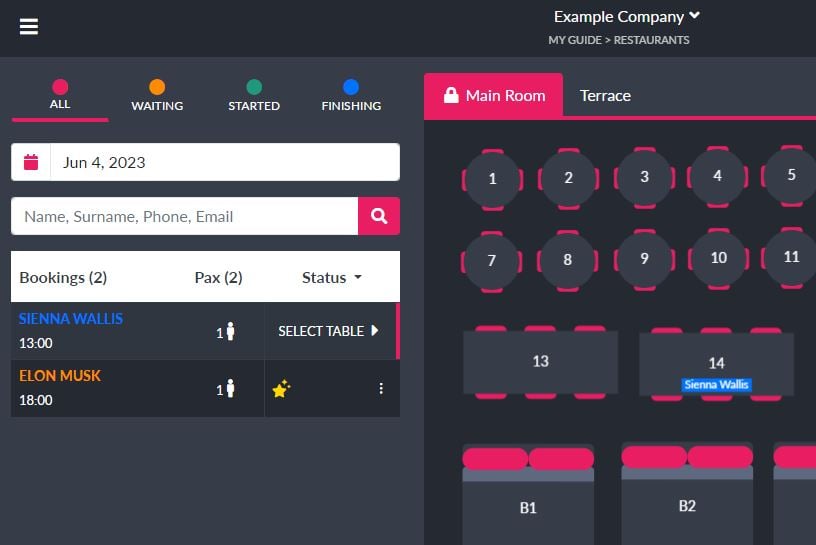
Assigning an order to a table is a straightforward process. Select the customer, you will see an option to "Select Table." Click on a table to assign the reservation to a table.
By leveraging the different reservation stages (Waiting, Started & Finishing), you can easily assign orders to tables, track the progress of each reservation, and make informed decisions regarding table availability.
Enjoy a streamlined reservation management process that enhances your operational efficiency and improves customer satisfaction.
Click 'Get started' now to start using our Real-time Reservations Platform. I look forward to hearing from you soon!
Get Started Now!